- Home
- >
- Products
- >
- Universal Testing Machine
- >
- Coefficien of Friction testing equipments

Coefficien of Friction testing equipments
Brand :XIANGLI
Product origin :China
Delivery time :10 days
Supply capacity :1000
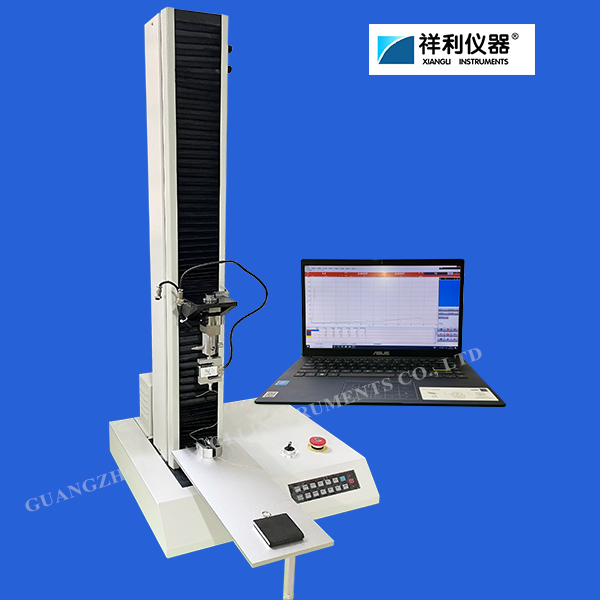
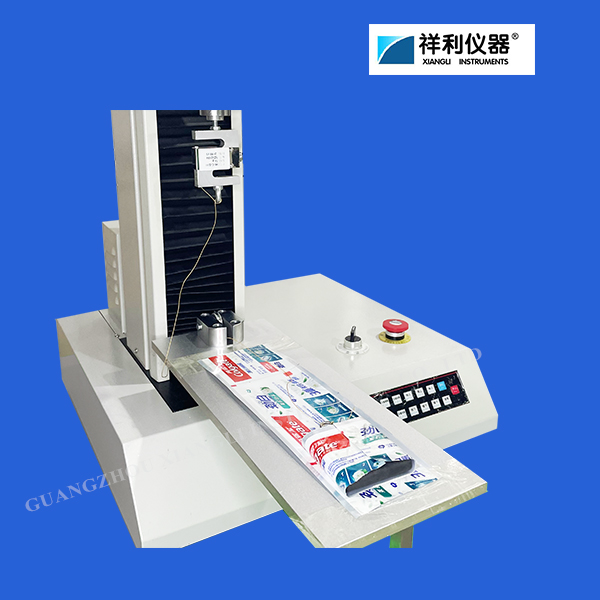
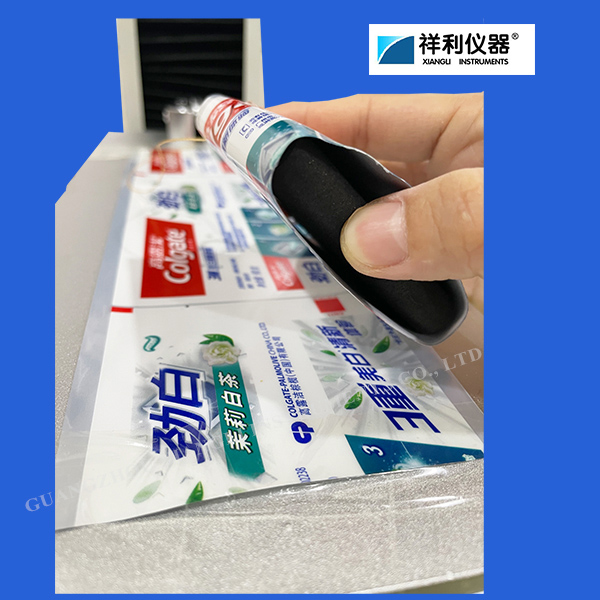
This machine is mainly used for friction testing of various materials.
COF machine can test related physical parameters including dynamic friction, static friction, friction coefficient and so on.
At the same time, it is equipped with different clamps and can also perform tensile, peeling, puncture and other tests of materials.
Product specification
This machine is mainly used for friction testing of various materials.
It can test related physical parameters including dynamic friction, static friction, friction coefficient and so on. At the same time, it is equipped with different clamps and can also perform tensile, peeling, puncture and other tests of materials.
It has the characteristics of compact structure, simple operation and convenient maintenance.
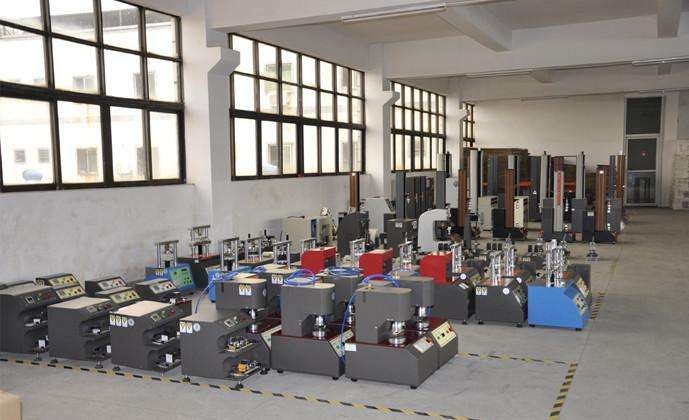
It is an ideal mechanical testing and testing equipment for colleges and universities, scientific research institutes, quality inspection departments and related production units.
Main features
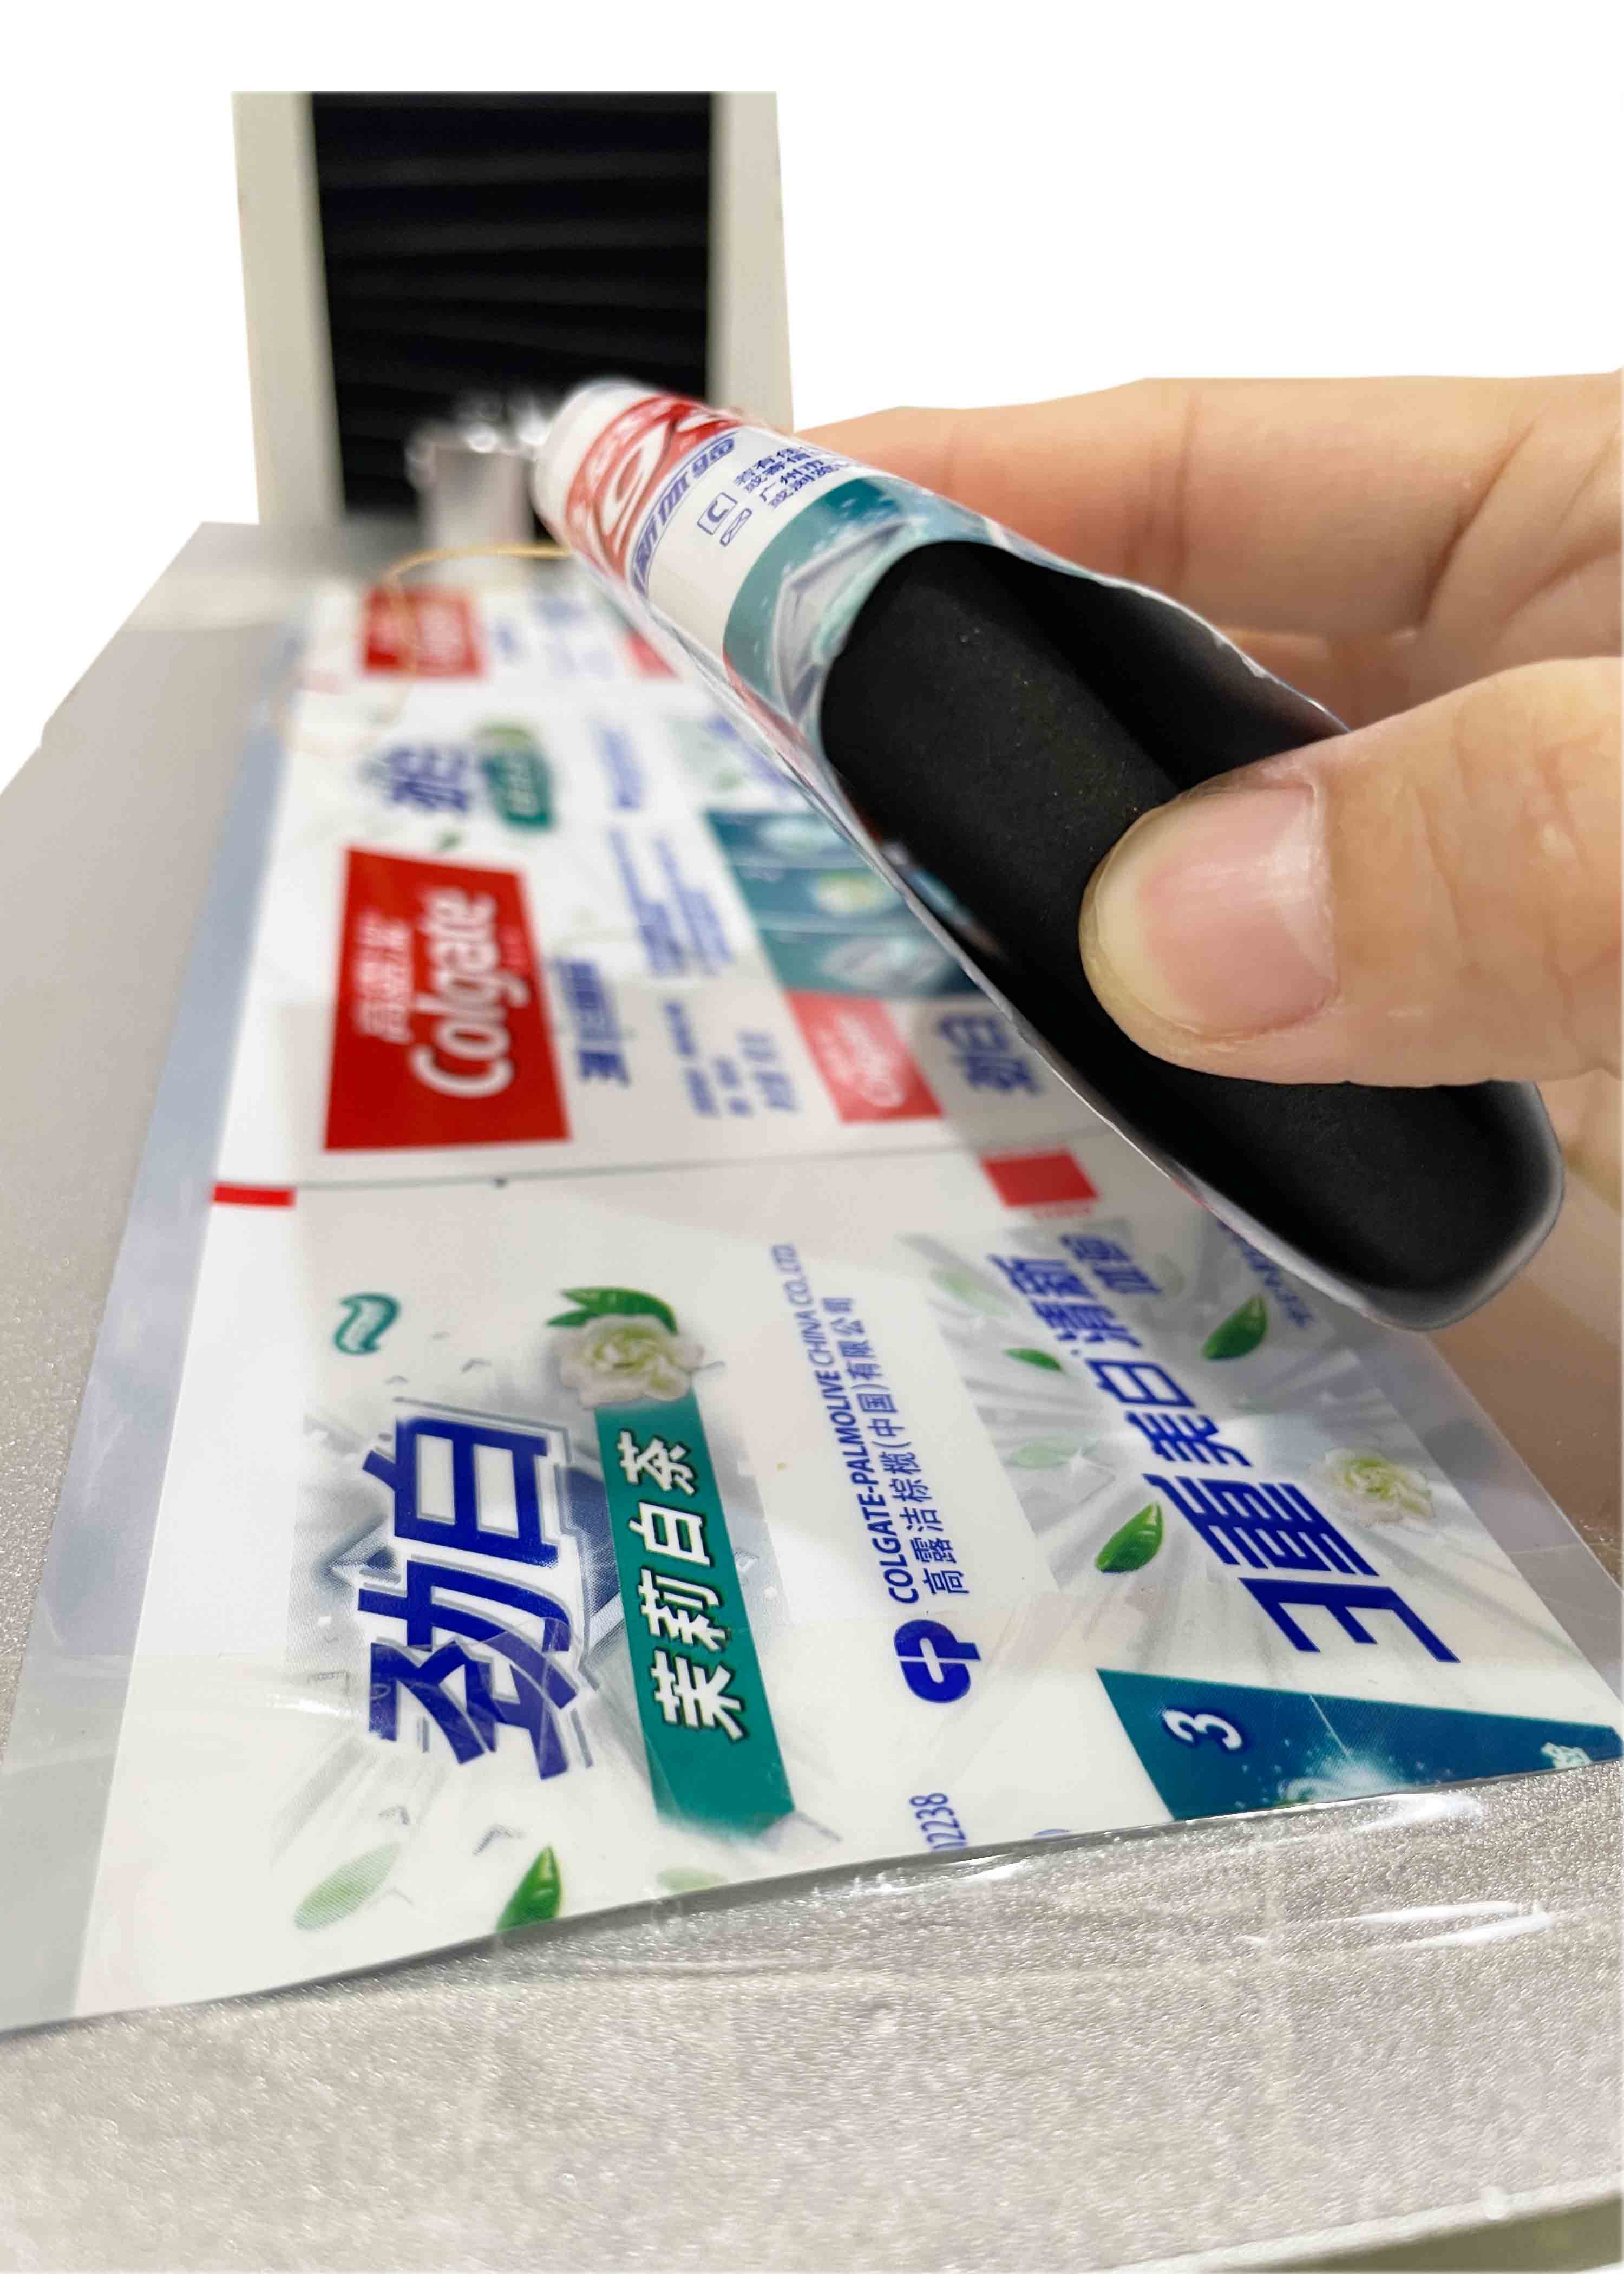
The control system of this machine is based on a single-chip microcomputer and has a touch screen and control keyboard. It can operate independently and display the load value, displacement value and beam movement speed.
In addition, the control system circuit of this machine uses E2PROM as the storage carrier of the configuration. The test parameters can be set or modified through the touch screen and ensure that the set test parameters will not be lost when the machine is not turned on for a long time.
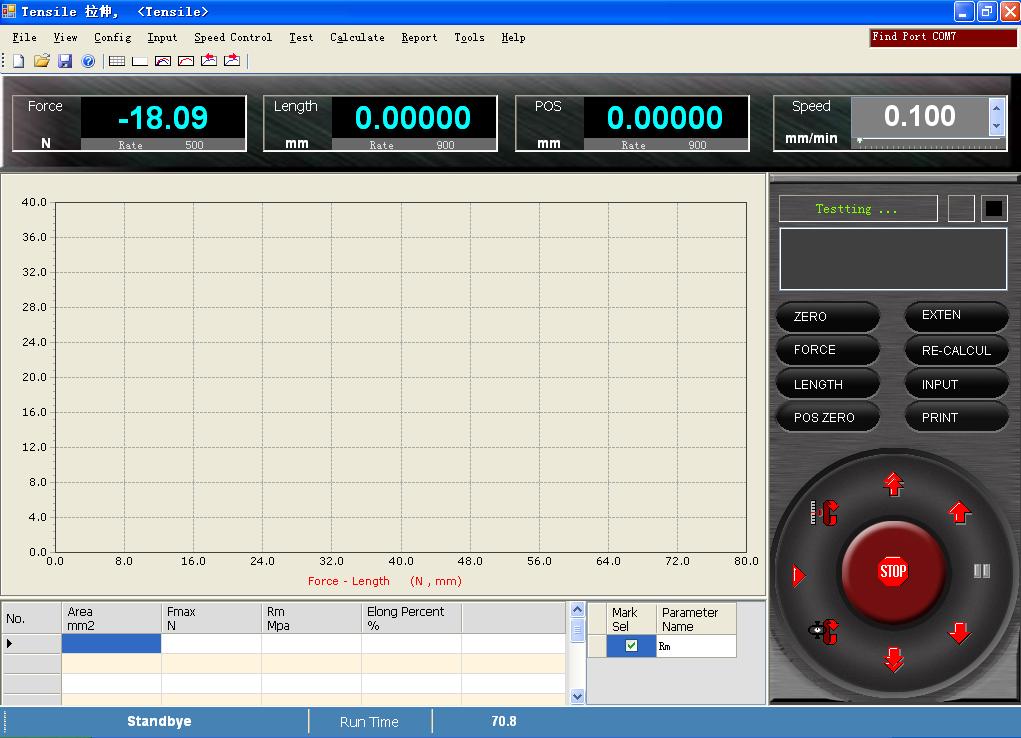
Equipped with standard USB serial communication interface. When using microcomputer control, it is equipped with multi-language user interface software to automatically collect and process data, and can print test reports and load-displacement curves (stress-strain curves).
During the test operation, the load value, displacement value, beam moving speed and load-displacement curve (stress-strain curve) are dynamically displayed.
It can be calibrated by software and has overload protection function.
Standard
According with the standard : ASTM D1894, GB 10006-1988, ISO 8295-1986.
Working conditions
1. At room temperature within the range of 10°C to 35°C;
2. Relative humidity is not greater than 80%;
3. Install horizontally on a stable foundation, with the levelness not greater than 0.2/1000;
4. There is no strong vibration, corrosive media and strong electromagnetic fields around;
5. The power supply voltage fluctuation range must not exceed ±10% of the rated voltage, and the power supply frequency is 50Hz;
6. Have independent grounding wire;
7. There should be a space of no less than 0.7m around the testing machine, and its working environment should be clean and dust-free.
Product parameter
1. Maximum load: 100N, minimum 50N dual range.
2. Load error: within ±0.5% of the indication value
3. Test speed range: 0.01-500mm/min (arbitrary input)
4. Force measurement accuracy: indication value within ±0.5%
5. Effective stretching distance: 800mm
6. Displacement measurement error: within ±0.5% of the indication value
7. Power supply and power: 220V AC 400W
8. Host size: 520mm×480mm×1260mm
9. Host weight: 65kg
10. Accuracy level: 0.5 degree
11. Effective force measurement range: 0.2%-100%
12. Maximum speed without load: 500mm/min
13. Speed accuracy: within ±0.5% of the indication value
14. Displacement display resolution: 0.001mm
15. Force value display resolution: 0.001N
16. Deformation accuracy: ±0.5%
17. Test bench safety device: electronic limit protection
18. Test bench lifting device: fast/slow speed control
19. Overload protection: Automatic protection and shutdown when exceeding 10% of the maximum load range.
Software performance characteristics
1. Installed in different environments such as tablet computers or desktop computers.
2. Automatic clearing: When the control system receives the test start command, the test system will automatically clear.
3. Automatic return: After reaching the test control instruction requirements, the moving beam will automatically return to the initial position.
4. Automatic saving: Test data and test conditions are automatically saved to prevent data loss caused by power outages.
5. Automatic speed change: During the test, the test speed can be changed automatically according to the setting or manually. (optional)
6. Automatic calibration: The system can automatically achieve accurate calibration of the indication value.
7. Automatic calculation: The required test results, such as dynamic and static friction and friction coefficient, can be automatically calculated.
8. Dynamic display: Data and curves are dynamically displayed along with the test process.
9. Result reproduction: Test results can be accessed for re-analysis at will.
10. Batch test: For tests with the same parameters, a batch of tests can be carried out in sequence.
11. One machine with multiple functions: Equipped with different fixtures and test software, it can perform multiple functions. (optional)
12. Curve processing: Curves can be analyzed and printed, and characteristic lines can be drawn through tests for material properties such as fixed elongation.
13. Curve display: can display various curves such as force-time, force-displacement, force-deformation, stress-strain, etc.
Maintain
1. Open the machines everyday periodically.
2. Operated by the specialist.
3. Coefficien of Friction testing equipments and accessories must be deposit in the dry environment.
4. After testing the accessories should be added wiping grease rust, and remove the rust great before test.
5. When the test finished, the power should be closed to avoid any accident.
Certificate


